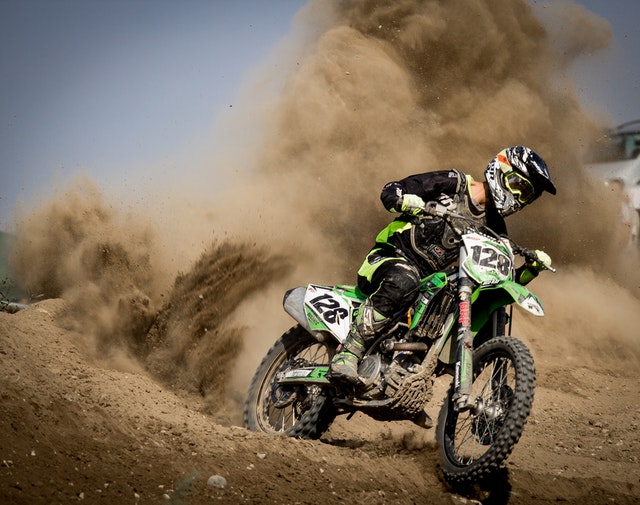
Adding graphics to a dirt bike not only beautifies the look but also helps you maintain it better. Many dirt bike riders don’t apply graphics for the show but also to protect the plastic. Are you planning to do the same? Well, your dirt bike surely deserves to look the best and stand out from the rest.
Steps to apply graphics on a dirt bike
Here are some ideas that will help you apply decals on your possession and make it look as good as new:
Source graphics for dirt bike
You need to first look for the best company that sells dirt bike graphics. You might want to get MX graphics done on your bike with the help of the experts. If not, you can always buy the kit and DIY the way we are helping you out here. Many people also order decals online, but you need to be sure of what fits your model best.
Preparing the plastic
You might be unfamiliar with this, but how you add decals to your bike will depend on the bike’s condition. The age of the motorcycle is a factor, and so are graphics present on it already. You have first to remove old pictures, and then you can apply the new ones.
To remove old graphics, you need to apply heat to it. This will make the process easy. Make sure the warmth is not too much as it might harm the bike. Little heat is enough to make the adhesive come out.
You also need to remove residues of the adhesive with contact cleaner. You can also use rubbing alcohol if you don’t have the former. Once it is completely removed, use water and soap to clean the bike. Let it dry and then apply new decals.
If you bought a new bike and want to add decals or changed the plastic, the steps will be different. In this case, you need to remove manufacturing oil residue before applying graphics. Use contact cleaner or rubbing alcohol for this as well. Next, use a soft cloth to clean the bike. Make sure you don’t scratch the plastic.
Installing dirt bike graphics
Before you apply MX graphics, make sure you check the alignment. You cannot just put them in any way and expect the decals to look good. The position needs to be aligned to make it look perfect for your dirt bike. You can mark the areas where the decals will be placed not to have a problem while installing it.
Remember that graphics installed on fuel tanks often get discolored. You can’t avoid this issue as it has fuel vapors coming from the tank leading to this. You might have to repeat removing and installing decals for the tank more often than other areas in such cases.
Final thoughts
An attractive dirt bike can turn heads and get you attention from lots of sponsors. Removing and installing decals is relatively easy, and you can customize the way you want them to. If the process seems challenging for you, it is better to hire a company and get the work done professionally.