Have you fixed your mind to bring a revamp to your dining place, kitchen or bathroom? The tiling project is a judicious move to bring aesthetic charm to your place. But is it so easy as it initially seems? Certainly not. Before diving into the next step, you need to choose a tile adhesive that will ensure your tiles are fixed with no issues over alignment gaps and durability. While many people are showing their obsession with the layout and colour of tiles, the actual story is hidden behind the surface that no one reflects on.
Now it’s time to choose a tile adhesive that is sturdy, durable and above all come up with bonding strength, greater flxibilty and proper finishes. Now, if you intend to handle the tiling task by yourself as a DIY expert, the guide would become a treasure trove. So why late, read from scratch?
Choosing the Right Bond for Your Surface
Do you need a long-lasting impact for your tile installation work with no crack and damage? You need to be vigilant and keep your eye on the important factors while opting for the best-fit adhesive. You never ignore tile type, weight, size, base material and environmental consideration for precise handling of the installation process. With a negligible temperature change, you may witness the shift of the heated floor, even though the timber flexes and the concrete rigidly holds firm. Meanwhile, it would be enough credible to test the bonding rigidity and durability it has.
Before choosing the title, make sure it must be water resistant so that it deters the water penetration impact on tiles. Above all, it saves the tiles from water damage and unintended mould growth that would damage the adhesion of tiles, especially in the bathroom and kitchen, often exposed to water. Always think of the surface and tile before choosing the tiles for the surface. Ignoring the matter only invites unanticipated trouble for you slowly but surely.
Getting Full Coverage With Leaving No Weak Spots Behind
Many people make mistakes for which they eventually have to pay the price. This applies primarily to first-time users, who assume that simply applying a bit of adhesive and firmly pressing the tile is all it takes to get the job done. Although it seems an effective way to settle the job done, the actual story is something different, causing them to lament later. The tiles may become brittle or collapse, which is undesirable. Always remember, a careful move never betrays but always pays off.
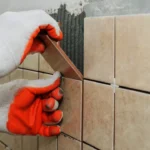
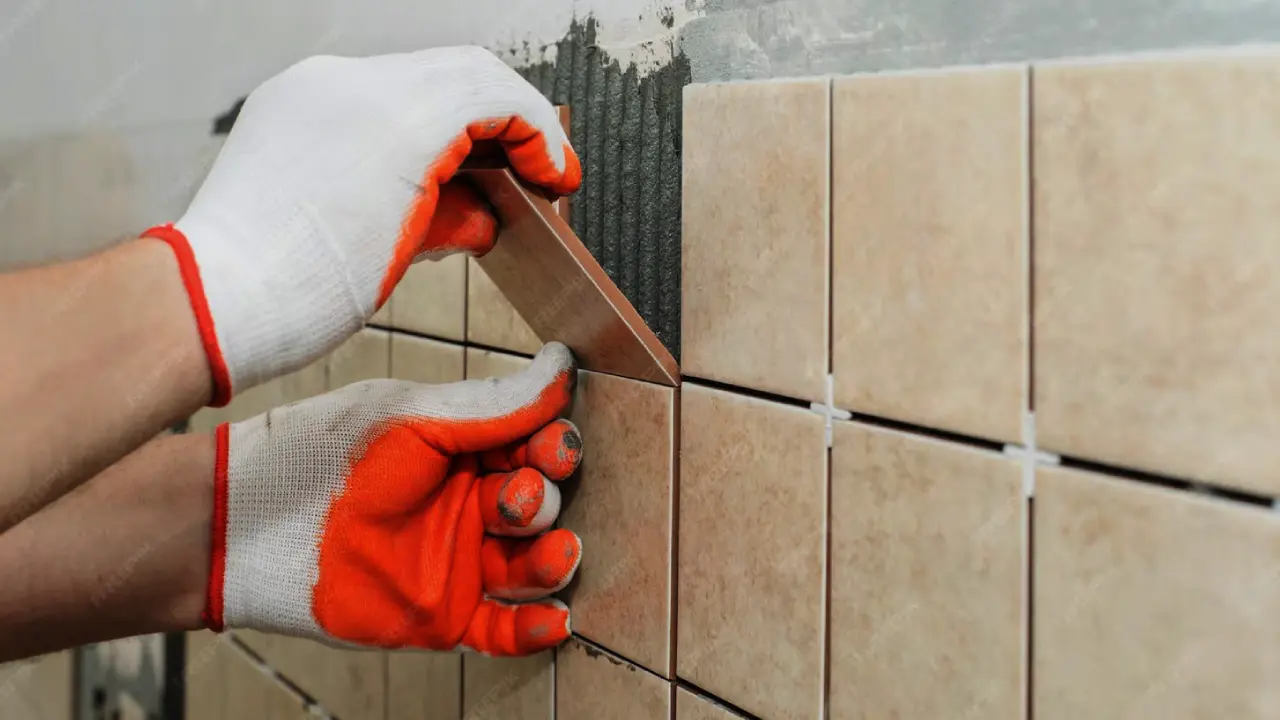
What needs to be done is to use a notched trowel and spread the adhesive evenly. Furthermore, you should invest a little extra time to apply a thin layer to the backs of the tiles themselves. Most of the time, this step is not given much importance, but neglecting it is certainly not the right approach. If executed correctly, you will find that there is no hollow sound—just a reassuring hold that yields durable and long-lasting results.
Mixing The Right Consistency For Reliable Results
The task of mixing adhesive may initially seem quite simple. But always remember things are not as easy as they always seem, isn’t it? Meanwhile, it requires the adoption of the correct method to ensure that it does not ultimately result in failure. If you add water more than expected, it can transform the sticky adhesive into a sloppy one, deterring it from properly supporting the tile.
Similarly, if you add less than the required amount of water, it will end up acting as a kind of hindrance to spreading or settling. What needs to be done is to achieve an intermediate state that fulfils your objectives. This will render it usable and sufficiently smooth, enabling it to maintain its shape without any issue of sliding.
You never ignore the unignorable contribution of timing, as adhesion does not wait for an indefinite time for adhesion. All you need is to maintain a smaller batch for better handling. Taking a brief break after a strenuous mixing session is a sound step that will yield a favourable result.
Preparing The Surface Before Any Adhesive Goes Down
While achieving a clean, neat, and tidy surface may initially seem like an easy task, in practice, it is particularly difficult to accomplish. Many thought to cut corners with the process, but never forgot it would cost high if not properly done. Setting the stage before the act is an important process, and the context above resembles something like that.
Any grease, dust, or powdery finish can act as a deterrent to the adhesion process. It is often seen that some surfaces are competent for quick moisture absorption that pulls the adhesive out of it before it can be cured. Adding a primer somehow acts as a justified approach to slow down the process, providing an ideal ecosystem for adhesion to meet the intended purpose behind it.
Allowing Proper Curing Before Putting Tiles To Use
The entire process needs to be carefully handled so that the result won’t disappoint the DIY user. To make the curing process go properly, patience is the key. It is advisable to make no rush, as any fleeting haste can end in utter failure. The settling process require to provide with recommended time for curing to reach a noticeable result with proper alignment of tiles with no crack and damage on the surface.
Final Thoughts
The process of installing high-quality tiles must be executed with great caution and expertise. A DIY user must be aware of the use of the right material, and carefully preparing oneself to make the installation flawlessly done. Having an idea of where to show any and why would be a prudent move. Embracing a measured approach can settle the unsettled job with ease.